
How To Verify Facebook Business Page

Do you want to verify your Facebook business page? Below we'll walk you through the steps to get it verified so you end up showing better in search results based on your page/brand name. It's a very simple process that allows you to get a grey check mark next to your name on your business page. It makes you look "Facebook official."
STEP 1: Visit the settings tab above your page in the white header.

STEP 2: You'll then need to select "Edit" next to the page verification tab. If you don't see this part in your settings - under "General," you'll need to go to your page settings and change it to "Local Business" or "Company/Organization." Other page titles don't allow a verification process.

STEP 3: After you select "Edit," then select the linked text that says, "Verify this Page." You'll get a pop-up that requests your business number. Use a number you use publicly that is associated with your business name, and click "Call Me Now." Then, Facebook will give you a call and provide you a code to enter into your pop-up message. After you enter your code, that should finalize your page verification. This can take about 24 hours +/- to do.
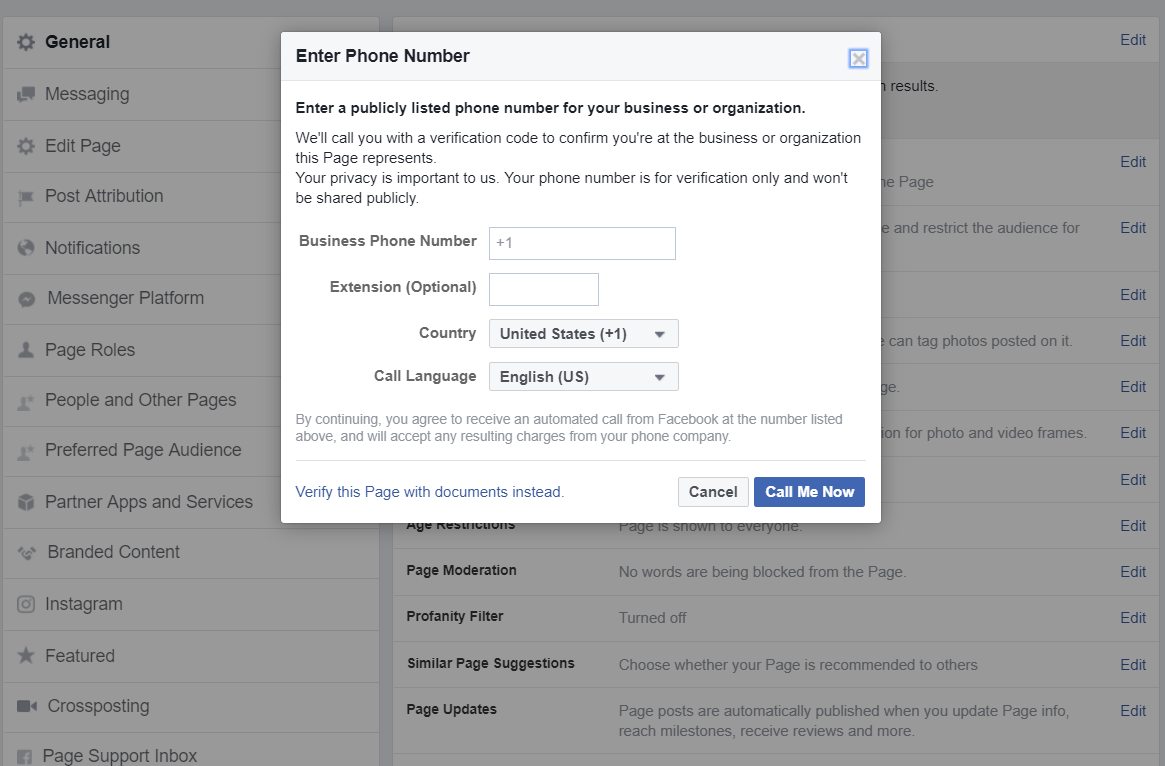
If you complete this process and Facebook says they can't verify your phone number, towards the bottom of the left side of the pop up, in the image above, you'll see where it says, "Verify this Page with documents instead." You'll need to upload one of the following requested documents that has a name matching your page name:
Business utility or phone bill
Business license
Business tax file
Certificate of formation
Articles of incorporation